Wedding Video
Posted by broseOct 30
It’s arrived! Without further ado…
Oct 30
It’s arrived! Without further ado…
May 13
Two and a half years. It’s been almost that long since I’ve made a proper blog update. Far far too long. That’s how long it takes to be fully vested in retirement at Princeton! I have a good list of reasons, though.
1) I bought a new (to me) house.

2) I bought a new (to me [seeing a pattern here?]) car.

3) I actually got a haircut, which happens about as frequently as I update this blog.

…and yes, that ponytail got donated to Pantene’s Beautiful Lengths program.
4) I got promoted at work. I no longer work in the Computer Science department, now I’m the Systems Manager of the Mathematics Department, Program for Applied & Computational Mathematics, and Annals of Mathematics (an affiliated periodic publication)
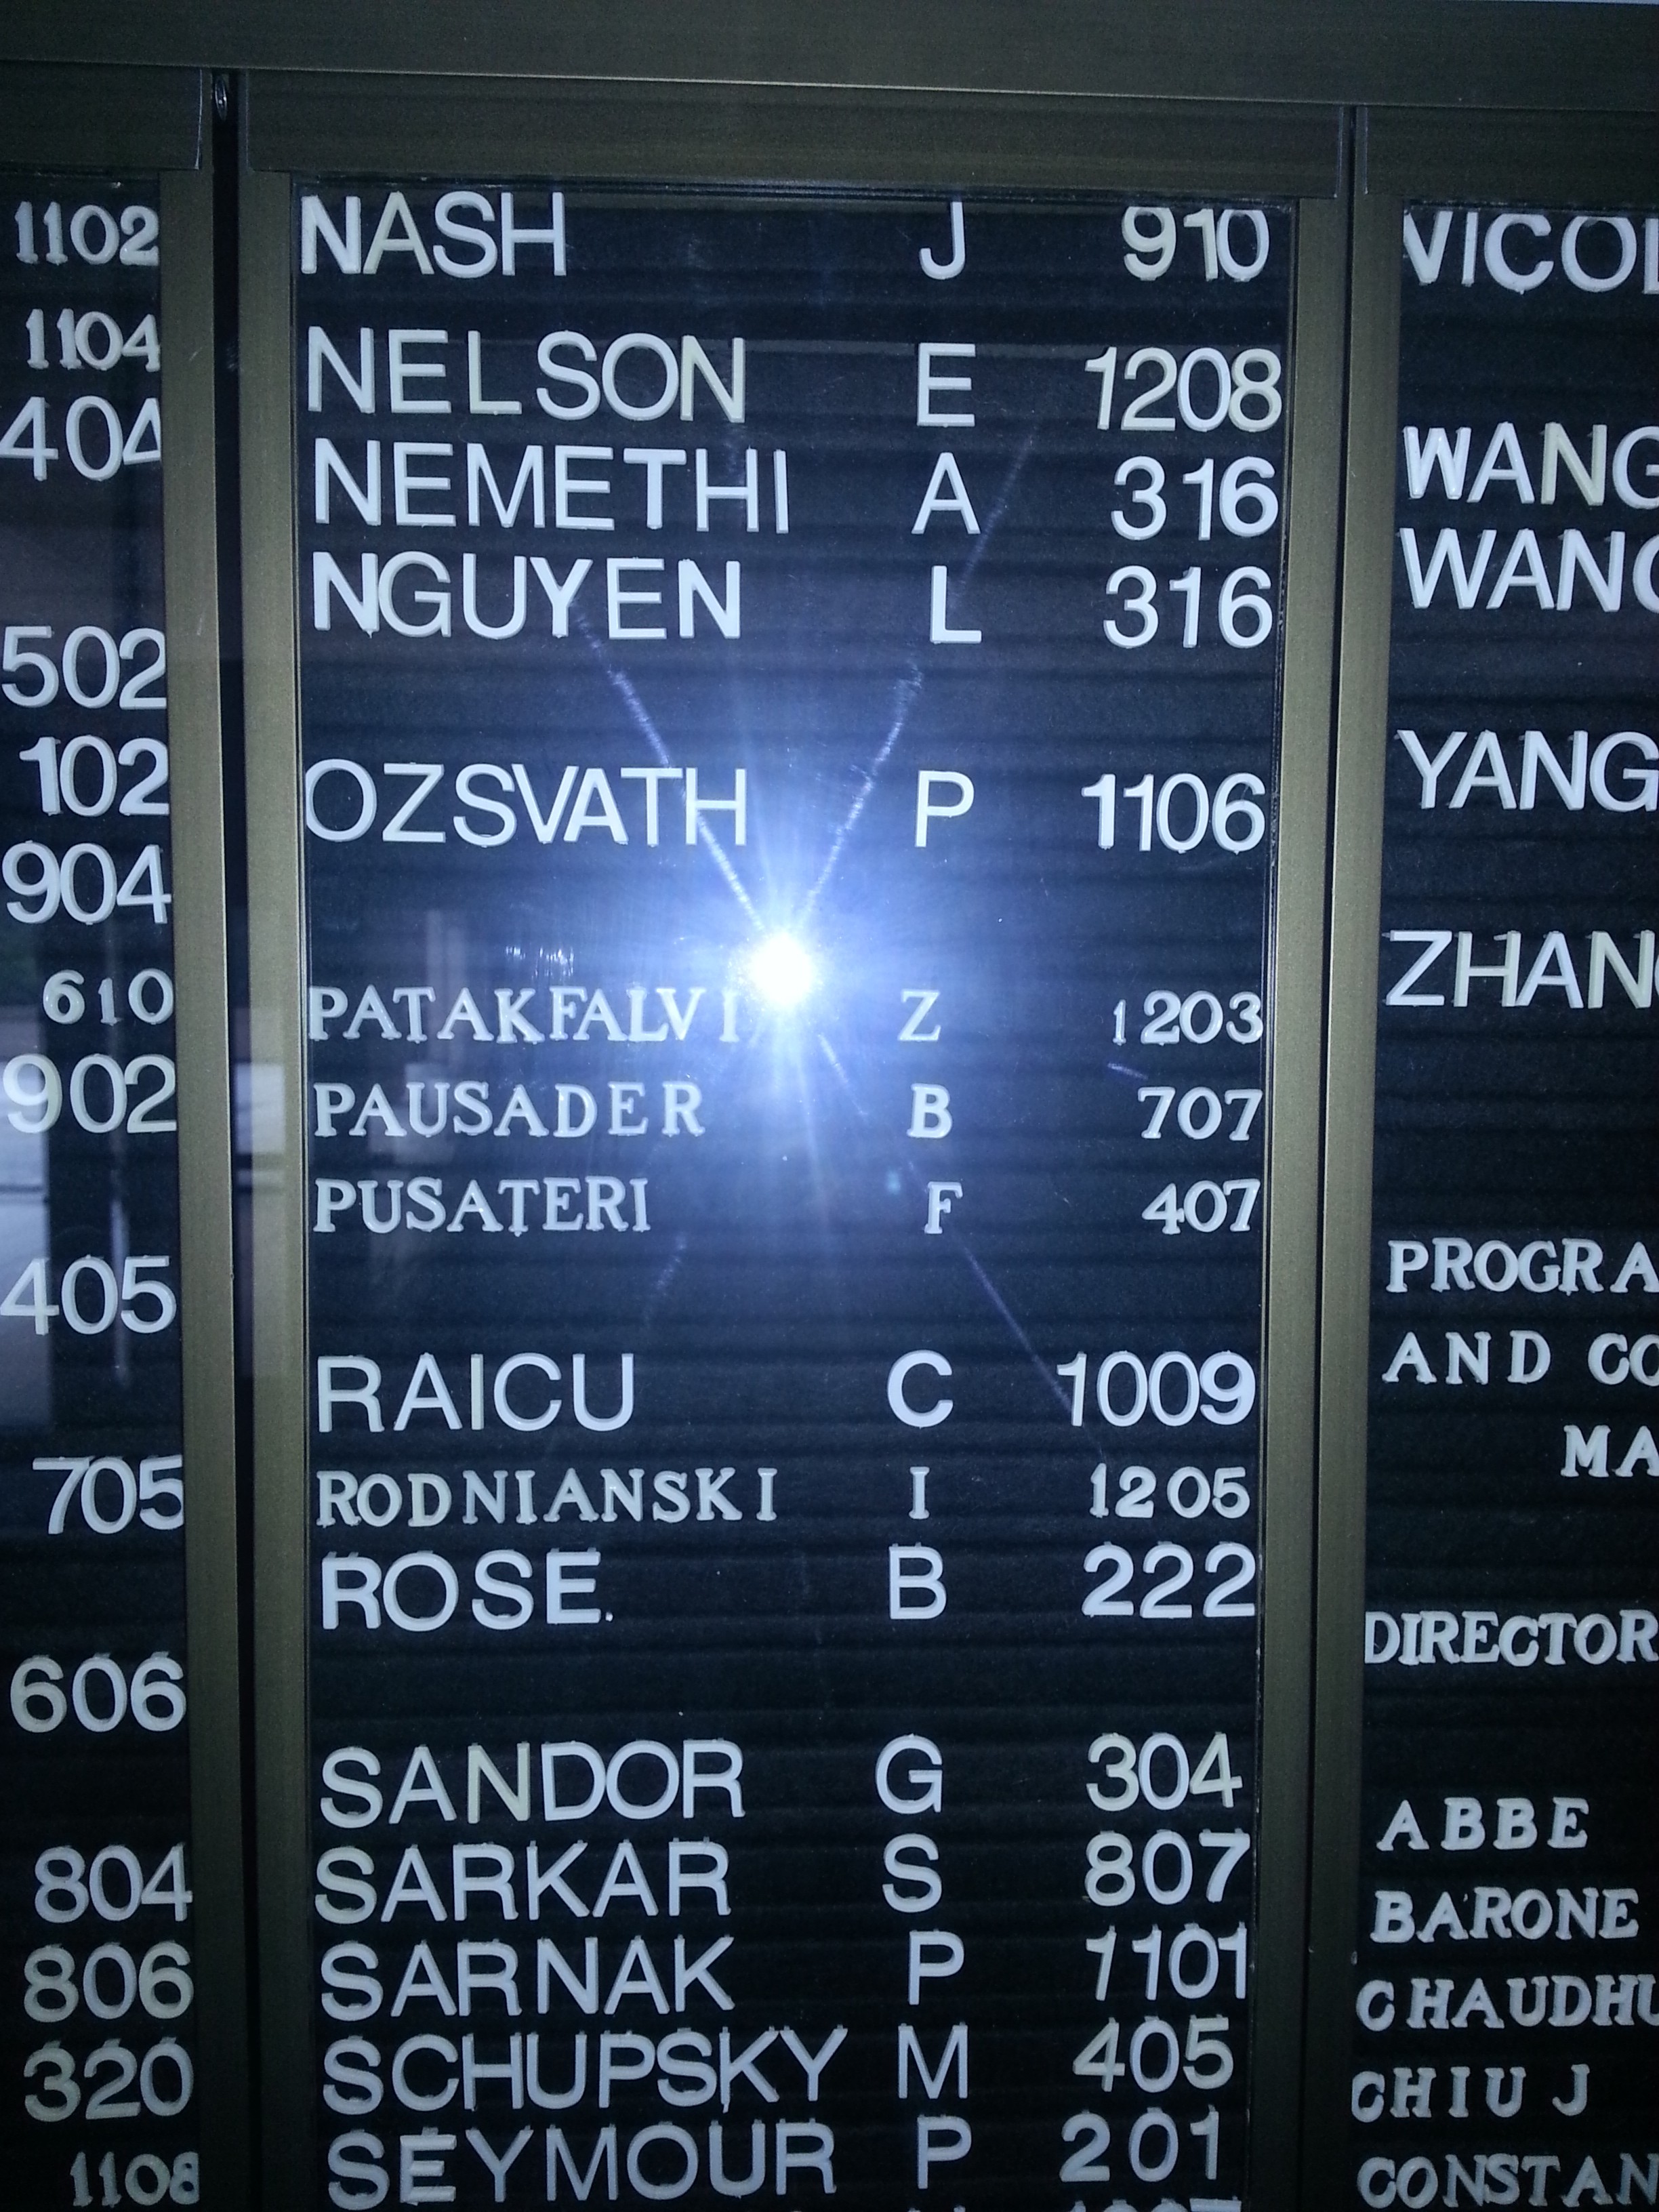
And yes that is Nash as in John Nash, of mathematical and theatrical fame (“A Beautiful Mind” with Russell Crowe was based on his life). I feel honored to be on the same board as him!
5) Last but certainly not least, I got engaged! I am set to be wed in the Princeton Chapel in October of this year.

But as I said, those are just reasons, not excuses. I will try and do better at updating this thing!
Jan 25
A server I use to mine bitcoin has 2 individual ATi Radeon 5970 video cards. These cards each contain two individual GPUs, for a total of 4 GPU cores. These GPU cores hail from the Radeon 5870 video card, where they are stock clocked at 850 MHz. In the 5970, however, they are downclocked to 725 MHz, and the voltage is reduced to 1.05 volts to stay within the power consumption specifications of the PCI-Express standard. So, this video card is just ripe for overclocking.
Step 1 for me was to just play with the core clock. I have my VRAM underclocked to 1/3 of the core clock – it is unneeded in bitcoin mining and running it fast only serves to create more heat. I nudged the core clock north, but hit a pretty hard wall around 816 MHz. I wasn’t going any further on this overclocking journey without applying a little more voltage to the GPU cores. However, all the overvolting tools for ATi are Windows-only! After extensive googling, I found a project that someone wrote to overvolt his/her Radeon 5850 – named [radeonvolt]. It didn’t quite work for me as-is, but after some hacking I was able to get the program to recognize both cores of each of my 5970’s, and change my core voltages successfully.
If you’re interested, click [here] to download a .patch file of my modifications. Otherwise, I will explain the few changes that needed to be made below.
1) Fix the card locating loop. Find the lines that look like this:
if(dev->device_class == PCI_CLASS_DISPLAY_VGA &&
dev->vendor_id == 0x1002 && dev->device_id == 0x6899) {
and change them to look like this:
if(dev->device_class == PCI_CLASS_DISPLAY_VGA ||
dev->device_class == PCI_CLASS_DISPLAY_OTHER) {
One GPU core registers as a VGA compatible controller, the other is just a “helper core” with no outputs, so it gets the DISPLAY_OTHER identifier. We also strip out the vendor and device ID checks – this allows us to attempt to probe the I2C bus of any video card detected. This appears safe still, I’ve tried the code with non-reference GPUs and nothing broke, the software properly reported it was incapable of modifying non-reference cards.
2) The radeon 5×70 cards, unlike the 5×50 cards (for which radeonvolt was originally written), use power profile slot #3 for high-performance, not slot #2. So, we just have a couple more changes to make. Find the line:
float voltage = vt1165_get_voltage(i2c, 2);
and change the “2” to a “3”:
float voltage = vt1165_get_voltage(i2c, 3);
additionally, make a similar change on this line:
vt1165_set_voltage(&i2c, 2, value);
…should of course read…
vt1165_set_voltage(&i2c, 3, value);
And that’s all, folks. Compile, use, and enjoy. I was able to push my core voltage to anything I wanted, but with great power comes great responsibility. Running my core at 1.1125 volts, I have now achieved a rock-stable 900 MHz core clock. Just be sure to keep an eye on the VRM temperatures!
[root@localhost ~]# radeonvolt
Device [6]: Device 689c
Current core voltage: 1.1125 V
Presets: 0.9500 / 1.0000 / 1.0375 / 1.1125 V
Core power draw: 70.55 A (78.49 W)
VRM temperatures: 83 / 89 / 84 CDevice [7]: Device 689c
Current core voltage: 1.1125 V
Presets: 0.9500 / 1.0000 / 1.0375 / 1.1125 V
Core power draw: 63.58 A (70.73 W)
VRM temperatures: 115 / 114 / 113 CDevice [14]: Device 689c
Current core voltage: 1.1125 V
Presets: 0.9500 / 1.0000 / 1.0375 / 1.1125 V
Core power draw: 67.06 A (74.61 W)
VRM temperatures: 87 / 89 / 89 CDevice [15]: Device 689c
Current core voltage: 1.1125 V
Presets: 0.9500 / 1.0000 / 1.0375 / 1.1125 V
Core power draw: 66.19 A (73.64 W)
VRM temperatures: 108 / 108 / 111 C
Sep 9
The blue dragon was misbehaving once again. To repeat, it’s a 1987 Oldsmobile Cutlass Ciera with the Tech-4 variant of the 2.5L Iron Duke engine. She was idling really rough, had a lot of vapor coming from the exhaust, and was drinking coolant at an alarming rate. After replacing the faulty radiator, the coolant leakage got better, but didn’t stop. Sounded like a head gasket issue. Someone told me to check the oil, if it’s a milky color, that means there’s coolant in it, which signals a blown head gasket. So, when I popped the valve cover off, I saw this:

I think that qualifies as a “milky color”. Yikes. Ok, so time to start pulling the engine apart to get to the head gasket. After about 4 more hours of labor and a few smashed arm incidents (those head bolts are tight!), I finally got the head off, and saw this:

Now, a lot of this coolant got in there while I was taking the head off, so it’s really not as bad as it seems. But, notice that cylinder #1 (leftmost) is slightly more full than the others. After drying the water out, the problem became much more apparent:

Yikes again! And so was it really the gasket? I inspected the head and didn’t find any cracks. Then, taking a closer look at the gasket, I found the problem:

So long story short, it was another 5 hours of labor to get everything back together into good working order. I think the total job ran me about $285, which isn’t bad considering I did pretty much an entire upper engine rebuild. That price includes new head bolts (which you should always do – if you reuse, they can snap. If they snap, you’re done), two oil changes, new exhaust manifold, more coolant, and all the associated gaskets.
Sep 6
Photos from my phone from Sunday, 8/28, the day after the storm went through.

Photo of the lake behind my apartment, the water is supposed to stop a few feet short of that fence you see sticking up.

The crushed stone is supposed to be a dam all the way across the end of the lake, with probably a good 10-foot drop-off. As you can see, the water does no dropping. Houses past this dam had at least two feet of water against their walls.

River, errr, Route 1. This is the view from the Route 95 overpass. Looking north, there were a few cars that had gotten stuck. The water was halfway up their windshields.